

I really wanted to bake something spring related! This is an oxymoron though, because these are a no bake recipe. They are very simple, and something you seriously can make on a whim. You are going to need three ingredients! Yes just three! Now if you want to get fancy with them and decorate them, then you will need icing colors, sprinkles, and whatever your little heart may desire. :)
I wanted to make these into bunnies for Easter, but I want to make bunny sugar cookies, so I just decided to go with some bright colors for spring.
The ingredients needed for this are, 1 package of 8 oz cream cheese, 1 complete package of classic Oreos, and some white chocolate.


 ( this is from google images)
Well thanks for coming back and I hope yall enjoyed this post!
I wanted to make these into bunnies for Easter, but I want to make bunny sugar cookies, so I just decided to go with some bright colors for spring.
The ingredients needed for this are, 1 package of 8 oz cream cheese, 1 complete package of classic Oreos, and some white chocolate.
You will need a good blender, you can blend by hand or crush, but the blender is ideal.
You will need a mixer as well, with a paddle attachment.
To start, blend all the oreos, in a good blender. We have a ninja and I completely love it. It does an amazing job blending everything together, especially oreos, since it has layers of blades.
Yes, blend the whole package, you will be tempted to eat one. Don't do it! Fight the urge!
And fill up that blender.
You can alternate between blending on a low speed and pulsing the cookies. We want it to be powdery but not sticky, yet.
And continue. . .
Almost there.
And this looks great.
Pour into your mixture or kitchen aid, you could do this by hand too, but the mixture makes it easier, and ensures everything is incorporated.
Make sure you get all the excess oreos out of the blender, it all adds up, yall.
Powdery oreo goodness.
All empty now, that's better. That was a huge difference.
Oreos, check.
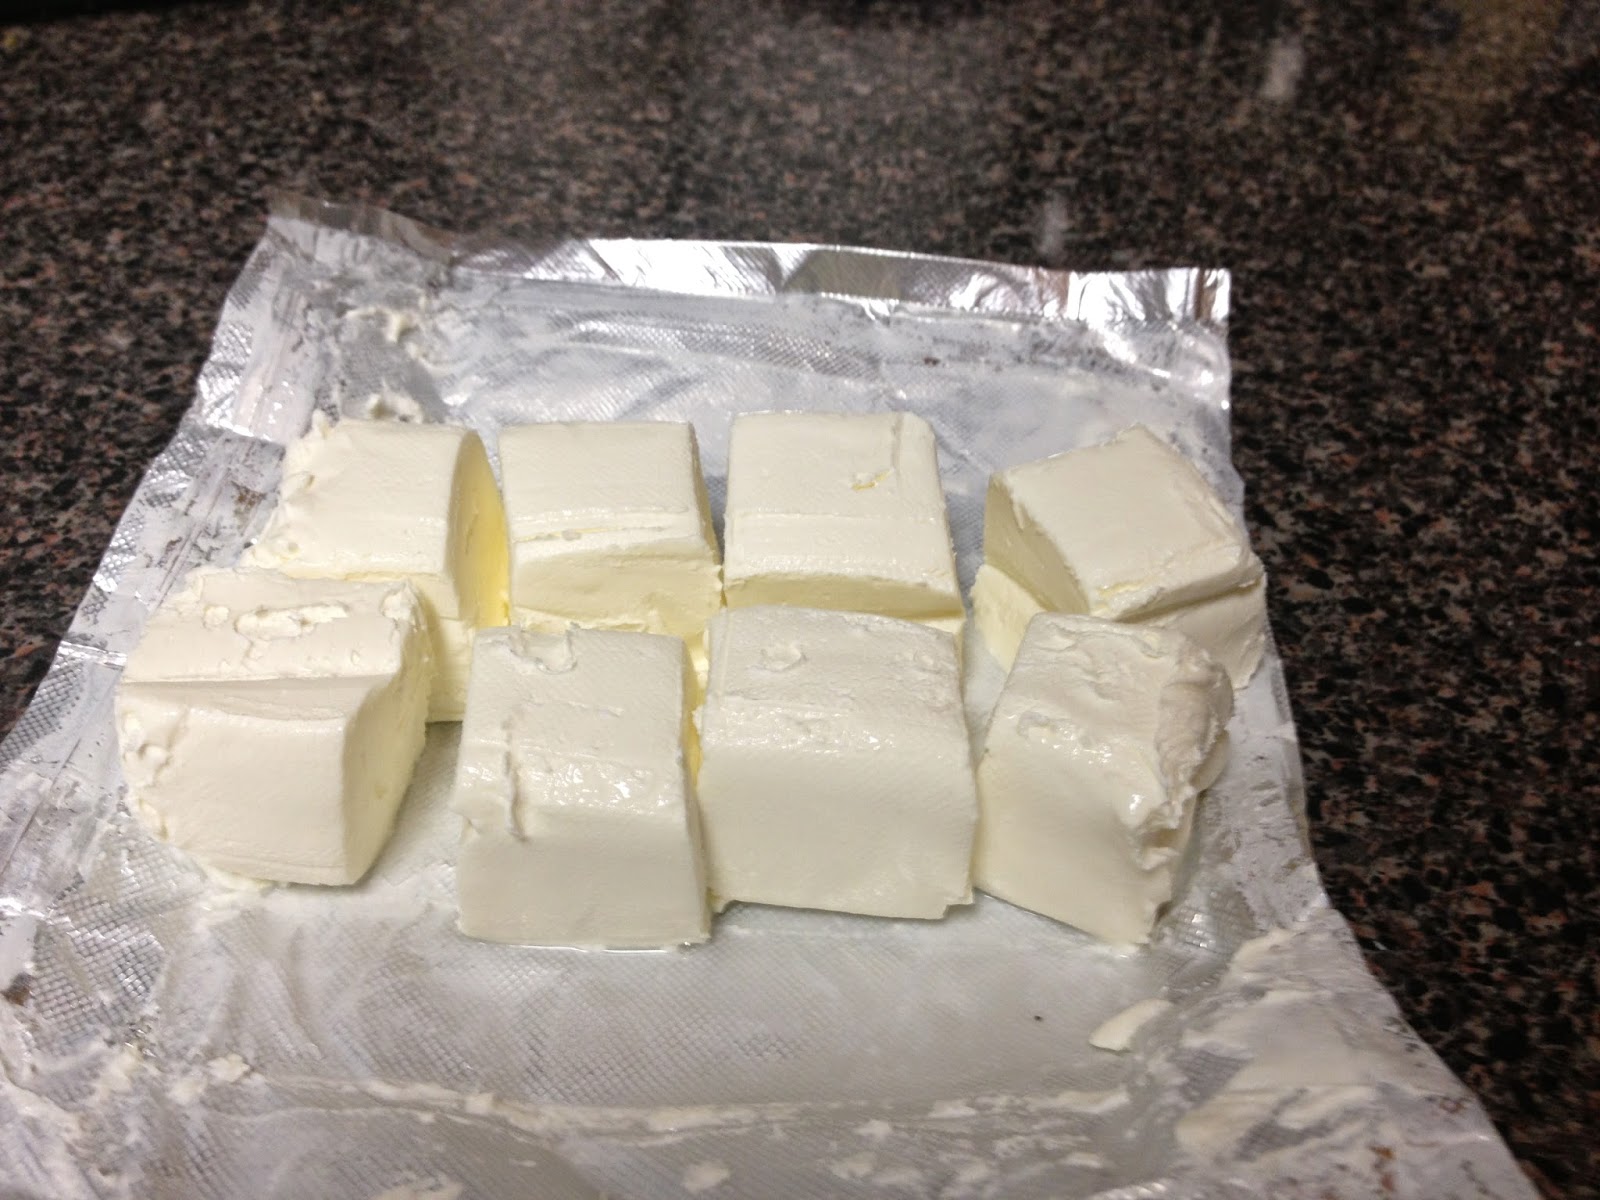
Add one 8 oz package of cream cheese to the oreos.
I like to cut the block into 8 small cubes, to make it easier on the mixture to mix it all evenly.
Mix with the paddle attachment.
Mix on a low speed at first.. .
Slowly increasing the speed.
Scrape the bowl and mix a bit more.
That looks great.
Now, we want to line a cookie sheet that will fir in your freezer with nonstick foil.
Grab a generous amount, and roll into a ball. You can make these how ever large or small you want them. You are the creator, here.
Continue to roll them out trying to make them as uniform as possible, but not too uniform. As long as they are the same size you are good, that way no one is jealous of someone else getting a larger oreo ball. Oh yes.. another thing, a lot of people call these "truffles", however they are not truffles, they are more like cake balls or cake pops. I don't know I suppose they could be called that, I just personally feel like truffles are magical, more work, time, and dedication goes into making the beautiful ganache or fruit filled center, well more effort than mixing cream cheese and oreos. Anyway... off topic.
So make these the same size, but if they aren't perfectly round it's ok, that is what gives them character and personality. It shows they were hand crafted, and not by a machine. :)
Now, excuse the mess in my freezer. You are going to want to freeze these for an hour and 1/2 to 2 hours. This is very important, and is what helps hold them all together.
Now that they are good and cold. .
Pull them off of the cookie sheet, and toss into a bowl for the moment being, that way we can put them back on the cookie sheet after we coat them in chocolate.
Now, this is very IMPORTANT!!! Before beginning to melt your chocolate, make sure the bowl you are going to use to melt it in, is completely dry of water! NOT A SINGLE DROP! Water will make chocolate seize, and the moment it seize's it's done for. It will become hard/rough, and just not smooth and silky how it should be. It will be nearly impossible to work with. Water and chocolate hate one another.
Before melting your chocolate, place the bowl of frozen oreo balls in the refrigerator to keep them chilled while melting the chocolate.
And in they go!
Place almost all the chocolate in the bowl, reserving a bit.
You can use a double boiler, however I really hate when chocolate seizes on me, and I just wanted to use the microwave to melt it, so I didn't create the opportunity for it to seize being that I made these around 12:30 AM, was limited on my chocolate, and nothing around here is open 24/7 other than WAWA and they don't have white chocolate chips! :P So microwave in 30 second intervals, and stir, careful not to burn the chocolate.
The above chocolate is reserved so when all the chocolate is finally melted after the cycles, add in the reserved chocolate and still until the bowl is cold to the touch. Adding the whole chocolate to the melted helps bring the temperature down so it can be tempered. Tempered chocolate will harden, creating that thick dry shell you want around your oreo balls. You can tell your chocolate is tempered when you place a little on the foil and it dries creating that shell.
Mixy mix mix
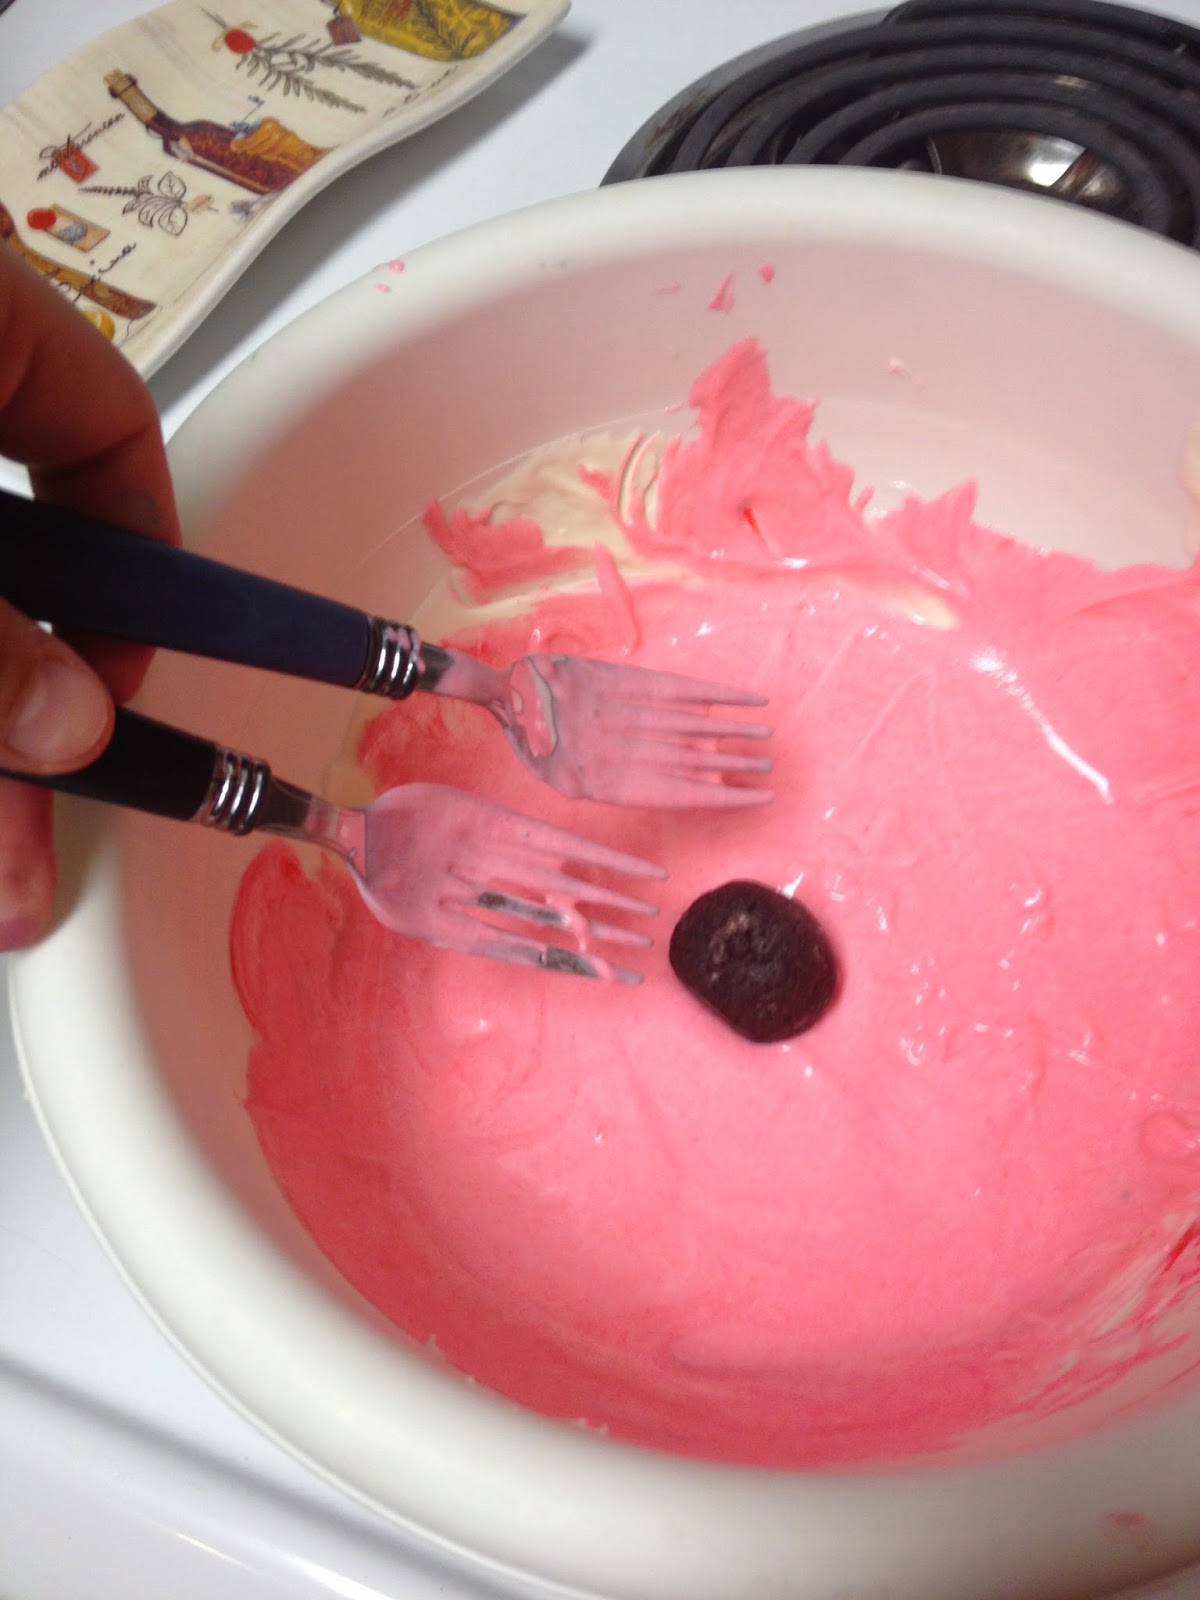
Now you can dye your chocolate if using white or you could use milk or dark. I wanted springy oreo balls so I used a pastel pink. When dying the chocolate I like to use gel colors, so it won't change the consistency.
Now time to Dip and Coat!
I have found the best way to do this is to drop them in one at a time and coat with two forks.
The forks allow to keep it clean and the excess chocolate to drip off, to maximize all of your chocolate.
Like so. ^_^
As you can see the chocolate hardens rather quickly, so try to work fast, if you find it hardens faster than you can work you can always heat it up some more, be very careful with this though, making sure you do not burn the chocolate.
For decorating, you can get creative, you could do anything.
I did purple, green, and yellow strikes, with blue sprinkles, and afterwards realized I made them look more like mardi gras than spring!
Meh I still love them.
For the strikes I just dyed some white royal cookie icing I had lying around since I ran out of chocolate.
But you could dye the chocolate and do the strikes with chocolate.
The finished beauties.
And the inside.
I have made these before using wilton candy melts, do not use candy melts! They will be to meh, artificial, and I am telling you just go with real chocolate, you'll be so happy you did! If you don't believe me make half a batch with real chocolate and the other with candy melts, and try them side by side. You'll see what I mean.
And another reason I love foil, makes the clean up easy and simple.
All ready to go! :) I like buying the mini cupcake liners and using them for cake balls and what not.
:) I hope yall enjoyed this post!
The gorgeous weather we have been having finally feels like spring and got me in the mood to bake something colorful or make rather than bake.
I also love these because they are simple, and most everyone has these three ingredients lying around. If you wanted to go simple, you could do these keeping the chocolate white, reserve a bit of oreo crumbs from the beginning step and sprinkle those on top. making them look like this...
( this is from google images)Well thanks for coming back and I hope yall enjoyed this post!


No comments:
Post a Comment