Showing posts with label baking. Show all posts

Wednesday, June 18, 2014

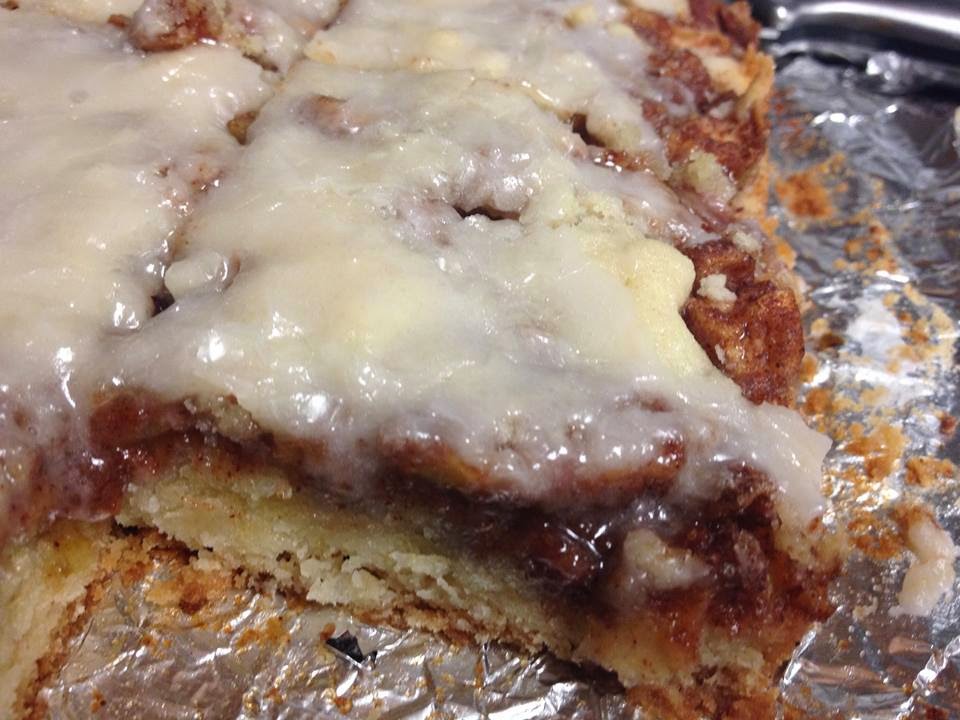
Apple Streusel bars

Apple desserts are one of my very favorite kinds of desserts. Anything apple just brings me back to that home comfort. I love anything from apple pie, apple crumble, apple crisp, apple muffins, and well anything. I have only ever made apple pie a few times though, as my husband hates anything with apple or any other fruit in it as a dessert. He always says "I only like eating fruit as fruit". I usually hate making something only that I like, because than it means I will be the only one eating it. I finally gave in and just made these anyway and sent them to work with him.

I was actually worried about how these would turn out, so I didn't like mixing photos, because I figured they'd be a flop and that they wouldn't be making their appearance on the blog. I didn't think they would turn out because I had diced the apples versus slicing, but I believe I diced them small and thin enough that they all still baked properly. Apple is one of those fruits, (And I believe it's why my husband does not like fruit desserts) if you do not cut it correctly or thin enough, then it won't bake properly, and may still be a bit crunchy or chunky. Well my husband did try one of these, and he liked it. Well if I make these again, though they were good, I would much rather thin slice the apples, I think that would make them even better. I like to remake recipes, and do things different from the time before, improve them, perfect them. In school I made something very similar it was actually in our school restaurant, on the dessert menu. It was an apple cheesecake streusel bar with cinnamon ice-cream! I need to make that at home, it was amazing. I very much wish I possessed an ice-cream machine in hand though!

The inspiration for this recipe came from Lovin' from the oven although I did a few things differently from her.

Also I doubled the recipe, I used a 9x13 pan as well as a 8x8. I like a thinker crust, so that's why I doubled it. I made one recipe first, and after I lined the 9x13 pan with foil, and the crust, I decided it wasn't thick enough for a bar dessert. I made the recipe a second time, made the 9x13 thicker, and still had a lot of crust left over. If you've been following this blog for a hot minute, you know, I do not like to waste anything. So I scrounged around for a smaller pan, and the 8x8 worked perfectly!

 
Before the glaze.


In one pan of bars I drizzled the glaze, and on
the other I coated it evenly fully across.


Recipe:
 
Ingredients
 

SWEET PASTRY:

  • 2 c. flour
  • 1/2 c. sugar
  • 1/2 tsp. baking powder
  • 1/2 tsp. salt
  • 1 c. real butter, softened (no substitutions!)
  • 1 egg, beaten

APPLE FILLING:

  • 1/2 c. white sugar
  • 1/4 c. flour
  • 1 tsp. cinnamon (I used about 3 teaspoons.. I LOVE cinnamon)
  • 4 c. (about 3 medium) sliced, peeled baking apples (I used 4 granny smith apples)

GLAZE:

  • 2 c. powdered sugar
  • About 3 Tbsp. milk (whole milk is best)
  • 1 tsp. almond extract (I used vanilla extract)

To prepare crust, mix flour, sugar, salt, and baking powder in a medium bowl. Cut in butter with a pastry blender or a fork until you have pea-sized crumbles. Gently mix in beaten egg.

Line a 9×13 baking dish with aluminum foil and spray with non-stick cooking spray. Gently pat about 2/3 of the crumb mixture onto the bottom of the dish. Preheat oven to 350 and set aside.
To prepare apple filling, slice apples. Combine the flour, sugar, and cinnamon together in a bowl. Toss with apples and spread apples out on prepared crust. Sprinkle reserved crust mixture over apples evenly and bake in preheated oven for 40 minutes (mine took just less than 50 minutes). When finished, allow to cool completely.

To prepare glaze, whisk together powdered sugar, almond or vanilla extract, and enough milk to achieve desired consistency. Place glaze in a Ziploc bag and cut off a very small portion of one of the corners. Drizzle glaze over cooled pastry and allow to harden (you can place it in the freezer to hurry things along). Cut into bars and serve.


Monday, May 26, 2014

Boston Cream Pie Cupckes

Boston cream pie is one of my favorite desserts, it is light, fluffy, and has just the right amount of sweetness to it! I wanted to make this cake into cupcakes, because I always send my treats with chris to work. Cupcakes are much easier for people to eat, that don't have any forks or plates in the establishment.
 
Laura Vitale from Laura in the kitchen on youtube, is one of my favorite people to watch on youtube. All of her recipes look delicious and amazing! This was my first time making something of hers and it did not disappoint! It was excellent! You can find her original recipe here! 
 
Let's get started!
 
Preheat the oven to 350 degrees.
 
 
First we are going to start by making the pastry cream, as it needs to chill a while in the refrigerator.
Add all ingredients together in a saucepan with no heat yet. This should include, your milk, flour, sugar, egg yolk, vanilla extract, and a pinch of salt.


Whisk everything together, until fully incorporated still with the heat off.


Turn heat onto medium, and cook until it begins to thicken. You should drain out any lumps through a fine chinois, however I did not have one, and if you don't give it a nice beat before placing in a bowl, this is to make sure the mixture is smooth and no egg has scrambled.

 
When you have your desired consistency place into a small bowl. 


Cover the small bowl with a layer of saran wrap or a plastic baggie, as I did, if you don't have saran wrap on hand. We are doing this so the cream will set and no crusts will form on it from the exposed air.


Place bowl in the refrigerator to set up, while you are preparing and baking your cupcakes and ganache topping. 
 
 
Now for the cakes. Let me just first say, I was super impressed with this cake. It was extremely soft, airy, fluffy, and delicious. I usually always use cake flour in my cakes and never all purpose, I used all purpose because it is what Laura's recipe called for, and I wanted to make it as exact as possible, since I always watch her videos.

 
Combine all your dry ingredients together this should be the flour, salt, and baking powder.
 
Cream together the room temperature butter and sugar, until light colored and fluffy.

 
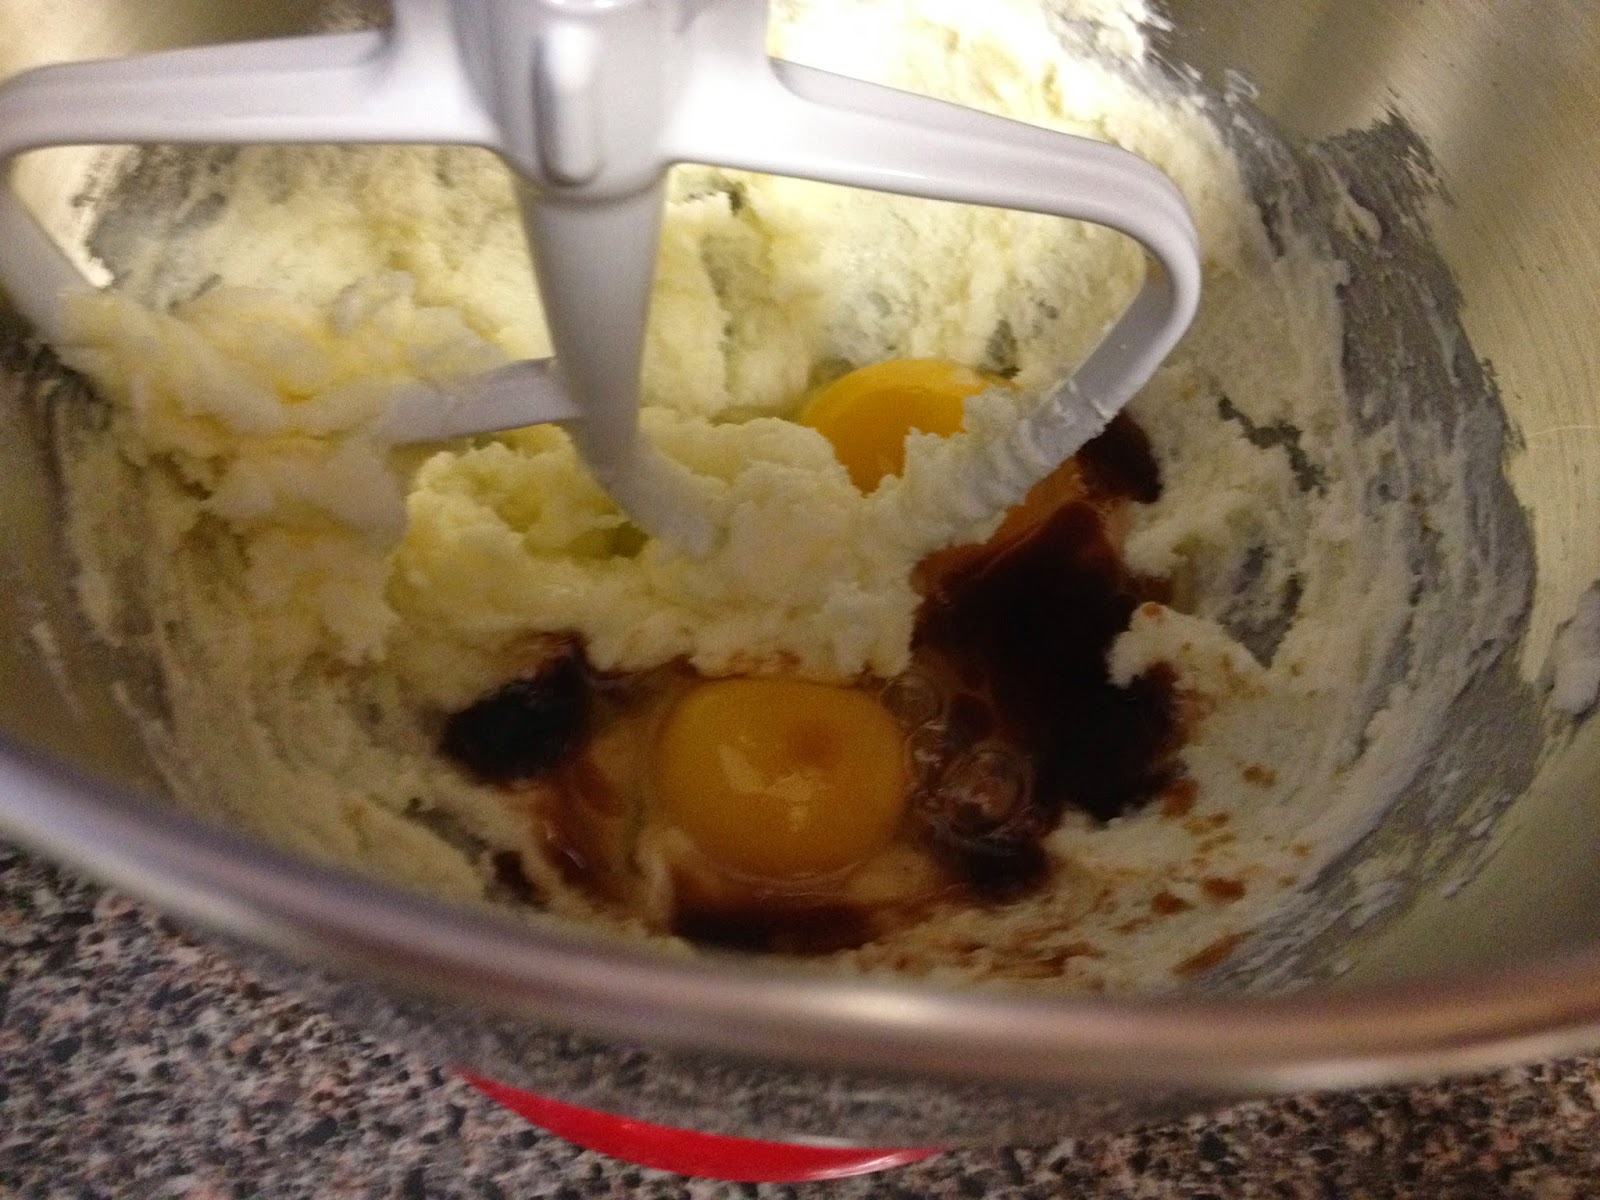
Next, add the eggs and vanilla together, mix just until combined.

 
Add in all dry ingredients, mix on low, slowly.

 
Slowly add in milk, while everything mixes, still on low speed, just until combined and nothing more! You do not want to over mix, if we over mix, the cake will not come out airy and fluffy, which is what we want!

 
Once everything is combined, scoop into a cupcake pan, without liners! Yes you heard me, do not use cupcake liners, but do spray the pan well with nonstick spray! Bake these babies at 350 for 18-20 minutes. This will make 12 cakes, and mine took exactly 18 minutes!

 
While the cakes bake, we want to start on our ganache. I love chocolate ganache so much, it is delicious. I have always made it over a double boiler, but Laura has a different method for making ganache, so I figured I would give it a go.

 
Measure out your cream and heat the cream on medium heat, just below the boiling point.


Measure out your semi sweet chocolate chips and place them in a bowl, set it aside for the moment being.

 
Once the cream is hot and ready to go, pour over the bowl of chocolate chips.

 
And let it sit just as it is for about 3 to 4 minutes.

 
Now that it has sat the chocolate should start to be melty, stirr it with a spatula.

 
It will slowly turn to a light brown color.

 
Then to a deep chocolate brown color.

 
Now add in the butter and a pinch of salt.

 
Stir it a bit more to help the butter melt completely.

 
Let the ganache sit a bit before icing the cupcakes, I allowed mine to sit while the cakes cooled.

 
When the cakes cooled enough to touch and work with I popped them out of the tin.. .

 
...And sliced them carefully through the center, creating a top and bottom half.

 
Once sliced you can start to fill each cake with a couple teaspoons of pastry cream, not too much so it isn't too messy. I used 2-3 tsp per cake, and it worked out perfectly for 12 cakes.

 
Only place the cream on one side, per cake. I wish I would have cooked my cream a bit longer or let it set longer so it was thicker, but they were still delicious. Now you can place the top half of the cake onto the bottom which has the cram.

 
Now to top with the delicious ganache. I used a spoon, spooned a couple spoonfuls of chocolate onto each cake, and spread it out a little.

 
I didn't spread the ganache too much, because I wanted it to just go wherever it wanted.

 
I very much enjoy the homemade look of theses,

 
As well as no liners, so you can see the layers like a traditional Boston cream pie cake.
 
 
So now, excuse the fact that I am in my pj's, no makeup, hair a wreck, and have a horrible sunburn turning tan, but I wanted to put a picture of me holding one up, because they were really amazing and I was pretty proud of these. :)
 
A few things I would change, I would let my pastry cream set longer or cook longer, to be thicker, wouldn't put as much chocolate on the tops, wouldn't have let my ganache sit as long as I did, it was getting to thick, as well as would have added a bit more salt to the ganache.

 
Thank and I hope yall enjoyed, here is the video on these from Laura Vitale:


Printable recipe:
 
Makes 12
Prep time: 20 mins
Cook time: 20 mins

Ingredients:
For the cupcakes: 2/3 cup Granulated Sugar 1/2 cup of Unsalted Butter, softened at room temperature 2 Eggs 2 tsp of Baking Powder 1/8 tsp Salt 1-1/2 Cups All Purpose Flour 1/2 Cup Whole Milk 1 Tbsp of Vanilla Paste or Extract
For the Filling: 3/4 cups of Whole Milk 1-1/2 Tbsp of All Purpose Flour 2 Tbsp of Granulated Sugar 1 Egg Yolk 1 tsp of Vanilla Paste or 1 Envelope of Vanillina Small Pinch of Salt

For the ganache: 4 ounces of Semisweet Chocolate Chips 1/3 cup of Heavy Cream 1 tsp of Butter, softened at room temperature 1/8 tsp of Salt

Process,
To make the filling:
1) Add all your custard ingredients in a large saucepan and with the heat turned off, whisk them all together to combine.

2) Place your custard over medium heat and cook it, stirring the whole time until the custard thickens. Strain it through a fine sieve into a bowl, cover the custard with plastic wrap (make sure the plastic wrap is touching the custard) and pop it in the fridge completely.

To make the cupcakes:

3) Preheat your oven to 350 degrees, spray a nonstick muffin pan well with nonstick spray and set aside.

4) In a small bowl, mix together the flour, salt and baking powder, set aside.

5) In a mixing bowl fitted with a paddle attachment, cream together the sugar and butter. Add the vanilla and eggs and cream together until you get a smooth mixture. Add the dry ingredients and with the speed on low, mix together slowly adding the milk and mix everything to combine. DO NOT OVERMIX! Make sure you give everything a good stir with a spatula from the bottom to incorporate any bit that wasn't mixed.

6) Scoop the batter into your lined cupcake tin, make sure it's only filled 3/4 of the way up because they will rise. Bake for 18 to 20 minutes and let cool completely before filling.

To make the Ganache:
7) Heat the cream in a small pan over medium heat until just below boiling point.

8) Pour cream over chocolate chips and let sit for 1 minute. Add the softened butter and whisk the whole thing together until the chocolate has fully melted. Let it sit for a few minutes before frosting the cupcakes

9) When everything is ready to be assembled, cut each cupcake horizontally (remove the paper if you used liners), spread about 1 Tbsp of the custard on one side, top with the top of the cupcake and spoon over a touch of ganache.

Monday, May 19, 2014

Chewy Lemon Cookies

I absolutely adore lemon and anything lemon flavored, however I have never embarked on making a lemon cookie. I decided it was about time I made a lemon cookie. Before I get into the recipe, let me for warn you these are simply amazing, and I honestly think I have a new favorite cookie! I LOVE chocolate chip cookies, and those typically are my favorite, so when I say this lemon cookie is my favorite, know that they are damn good to be my favorite! Also, I don't mean to brag or anything but my husband loved these, and he hates lemon flavored sweets, or any fruit rather in sweets!

Also, I must give credit where it is due, I found inspiration from the recipe here, well actually I made zero changes to the recipe. I can see these being great on a summer day, also they are really simple and quick to whip up. As always I am about to flood you with pictures.


As yall can see my cookies came out rather large, and it made exactly 32 cookies, I probably should have spaced them out more because they ran together, I do wish they were a bit fluffier, I think if my butter was a bit softer, and when I ment to turn the mixer off and accidently turned it on high, then that would have helped! Yes I went to turn off the mixer, and had my hands full, turned it on high and it went insane for a few seconds! Over mixing or mixing on high will make dough more dense, and I think that's what happened, however, these were still chewy and delicious. I will definitely be making these again. Also I baked mine a little under the time, I love a good under baked cookie. :) They baked 8 minutes, just as the recipe called for. When I take them out, I let them sit about two minutes, then I remove them from the cookie sheet. Also I didn't have parchment on hand so I used aluminum foil, and it worked out perfectly.


Chewy Lemon Cookies

2 3/4 cups all-purpose flour
  • 1 teaspoon baking soda
  • 1/2 teaspoon baking powder
  • 1/2 teaspoon salt
  • 1 cup butter, softened
  • 1 1/2 cups white sugar
  • 1 egg
  • 1/2 teaspoon vanilla extract
  • zest of one large lemon
  • 4 tablespoons fresh lemon juice
  • 1/2 cup sugar for rolling cookies

  • Preheat oven to 350F. Line cookie sheets with parchment paper.
    In a small bowl, whisk together flour, baking soda, baking powder and salt.
    In a larger bowl, beat together butter and sugar until light and fluffy. Beat in egg, vanilla, lemon zest and juice.
    Add in dry ingredients, beating until just combined. Roll rounded spoonfuls of dough into balls and then roll in sugar. Place on lined cookie sheets, about 1 or 2 inches apart.
    Bake for 8 to 10 minutes. (Mine needed barely 8 minutes; they were not yet golden but I wanted them still pale and tender.) Remove from oven and let stand on cookie sheet for 2 minutes before removing to cook on wire racks.
    Makes 24 – 36 cookies.
     
    Images by Freepik